
Starlink Gen 3 Accessories
Complete Your Gen 3 Setup
Starlink Gen 3, the standard rectangular dish, needs sturdier mounting and different connectors to Mini. Air Vision Systems stocks the full range for Gen 3: mounts for fixed and mobile installs, waterproof cables, PoE injectors, and complete bundles for a clean residential setup.
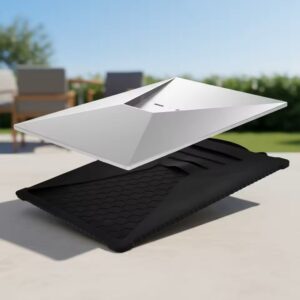
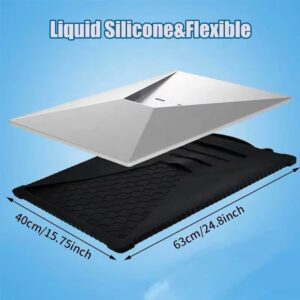
Air Vision Systems Starlink Gen 3 Silicone Protective Cover – Black Outdoor Sleeve
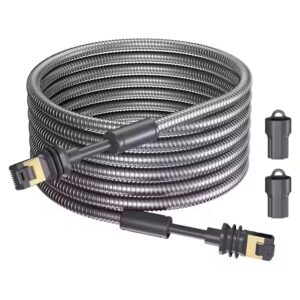
Protective Covers $84.00Air Vision Systems Starlink Gen 3 Armored Cable
Cables $237.00 – $421.00Price range: $237.00 through $421.00Air Vision Systems Starlink Generation 3 Mount
Mounts$489.00Original price was: $489.00.$342.00Current price is: $342.00.Air Vision Systems Starlink Gen 3 Clip-In Pole Adapter – Heavy Duty
Wall and Roof Mounts$123.00Original price was: $123.00.$68.00Current price is: $68.00.



WHICH SETUP DO YOU NEED
WHAT DO YOU NEED FOR YOUR GEN 3
Mounts
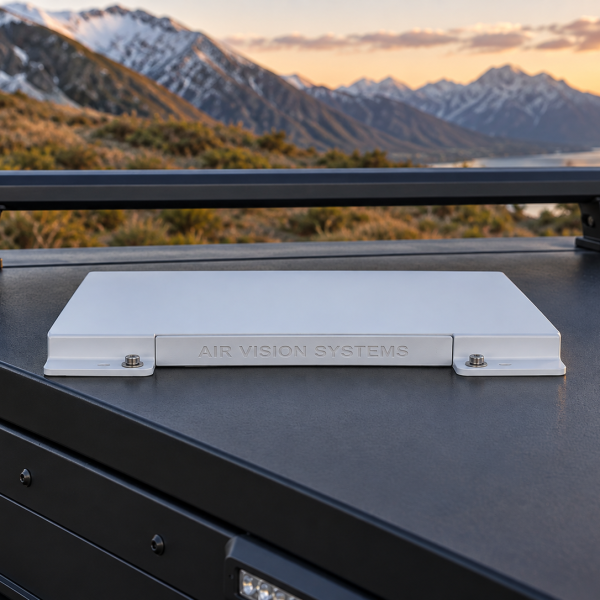
From a marine grade bracket to a fully adjustable flexible base mounting kit or a clip-in pole adapter, the right choice depends on the surface and how permanent the install needs to be. See the Gen 3 Mounts page for the full range and a guide to choosing between them.
Cables
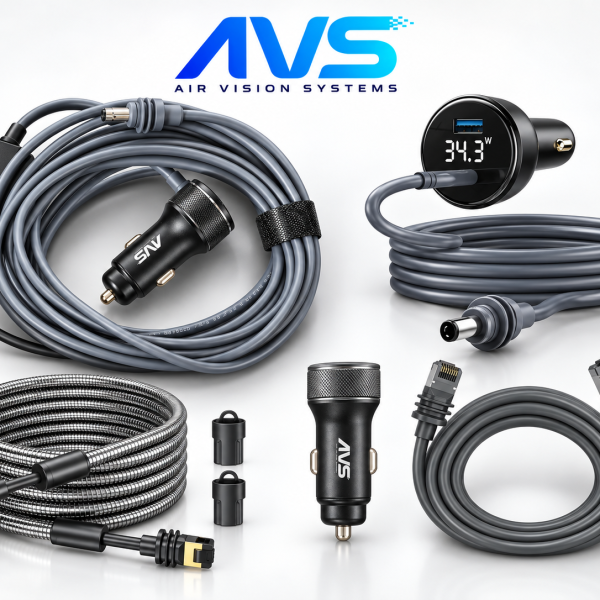
A waterproof extension and replacement cable is available in lengths from 2m up to 46m, suited to Gen 3 installs where the dish sits well away from the router. See the cables page for the full range and help choosing the right length.
Power & indoor setup
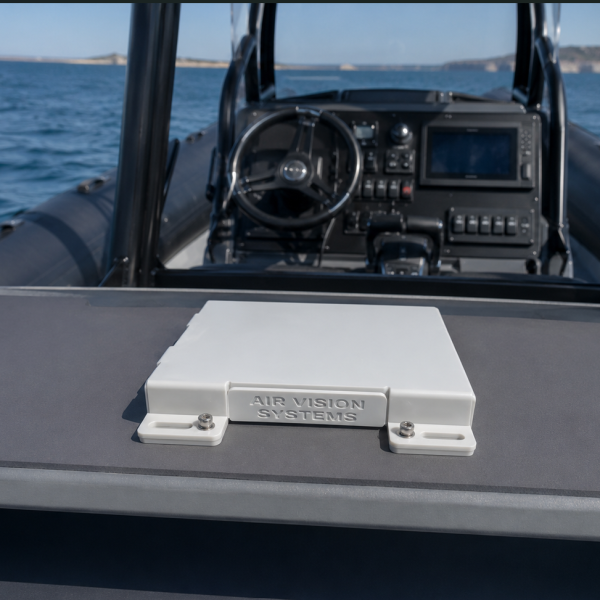
A 5 in 1 PoE injector delivers up to 200W with Gigabit Ethernet plus USB-A, Type-C and 3-pin DC outputs, and a wall mount kit keeps the router and power module tidy indoors. For 12V vehicle setup, a step-up converter is needed to avoid voltage drop over longer cable runs, Gen 3 steps up to 48V or 57V depending on the setup. See the power solutions page for the full range.
Residential bundles
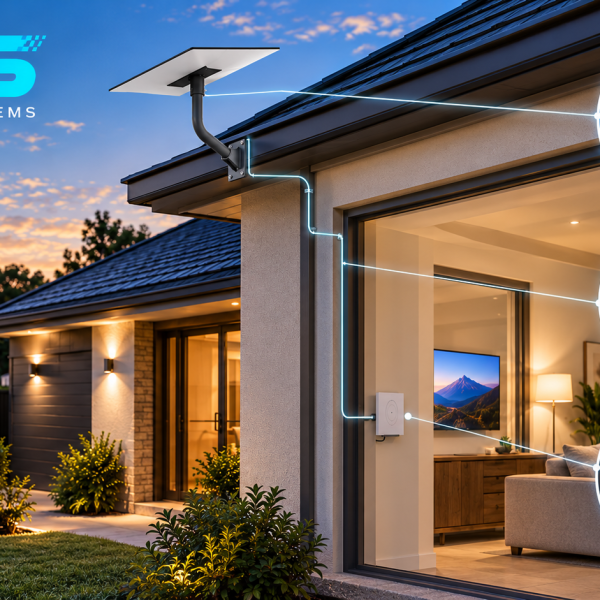
For a clean, permanent setup, a residential bundle combines a mount, wall mount kit for the router and power supply, and an extended waterproof cable, designed for homes, cabins and rural properties wanting a professional finish without sourcing each part separately.
THE RIGHT Gen 3 SETUP
Everything Your Starlink Gen 3 Needs
Gen 3 Mounts
Secure mounting options for roofs, walls, vehicles and other permanent installations.
Cables
Reliable cable options for different installation and connectivity requirements.
Power Solutions
Power options designed for reliable Gen 3 installations across different environments.
Residential Setup
Accessories and hardware for creating a clean, reliable home installation.
Make Sure It’s the Right Fit
Check the key details before choosing accessories for your Starlink Gen 3 setup.
Compatibility
Confirm your dish is Gen 3-V4 or Standard 4/4X before ordering, mount and cable compatibility varies across Starlink’s dish generations
Installation Location
A residential bundle suits a permanent single location install. For mobile or repeated setup and pack down, a lighter individual mount or tripod with pole adapter is usually the better fit.
Power Requirements
Gen 3 accessories are not interchangeable with Mini, connectors and mount fittings differ between the two
FAQs
Common Questions
Helpful answers about choosing the right Starlink Gen 3 accessories.
What is the difference between Gen 3 and Standard 4?
Starlink has used slightly different names for its rectangular dish across releases. Air Vision Systems Gen 3 accessories are compatible with Gen 3-V4, Standard 4 and Standard 4X unless a specific product states otherwise, check the individual product listing to confirm.
Can I use Mini accessories with a Gen 3 dish?
No, the dish sizes and connectors differ. See the Mini Accessories page if you have the smaller dish.
What comes in a residential bundle?
A typical bundle includes a mount, a wall mount kit for the router and power supply, and an extended waterproof cable, everything needed for a clean, professional set up.
What should I consider for an outdoor Gen 3 installation?
Consider the mounting surface, weather exposure, cable routing and power requirements before installation.