
Starlink for Caravans
Everything You Need for Starlink on the Road
Taking Starlink for caravans on the road means reliable internet wherever you park up, but the kit as it comes out of the box isn’t built for life on the road. It needs a secure mount that can handle vibration and wind, cabling that reaches from roof to router without a mess, and a power setup that works off your caravan’s 12V system.
Air Vision Systems stocks purpose-built Starlink accessories for caravans across NZ, covering both the standard (Gen 3) dish and Starlink Mini, so you can get connected properly the first time.
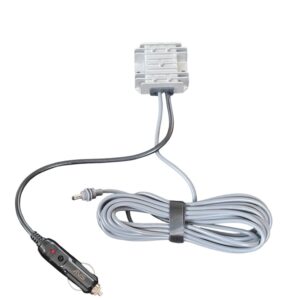
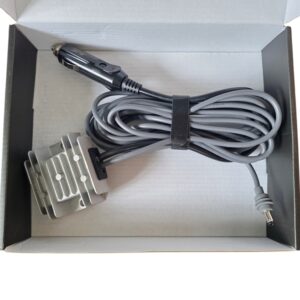
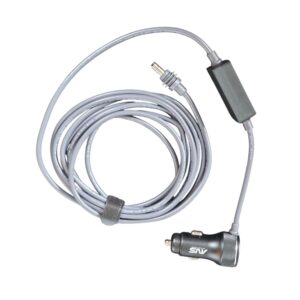
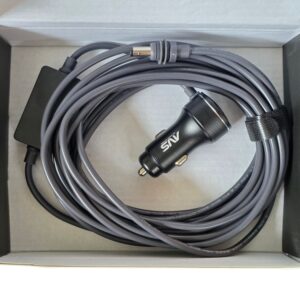
Air Vision Systems Starlink Mini High-Power Car Cable – 12V Cigarette Lighter to DC Step-Up Converter (3m / 5m)
Power Cables $102.99 – $111.99Price range: $102.99 through $111.99Air Vision Systems Starlink Mini Cigarette Lighter to DC Cable with Voltage Display and Step Up Converter – 3m/5m
Power Cables $111.99 – $117.99Price range: $111.99 through $117.99Air Vision Systems Starlink Generation 3 Mount
Mounts$489.00Original price was: $489.00.$342.00Current price is: $342.00.


WHICH SETUP DO YOU NEED
Ask three questions before choosing
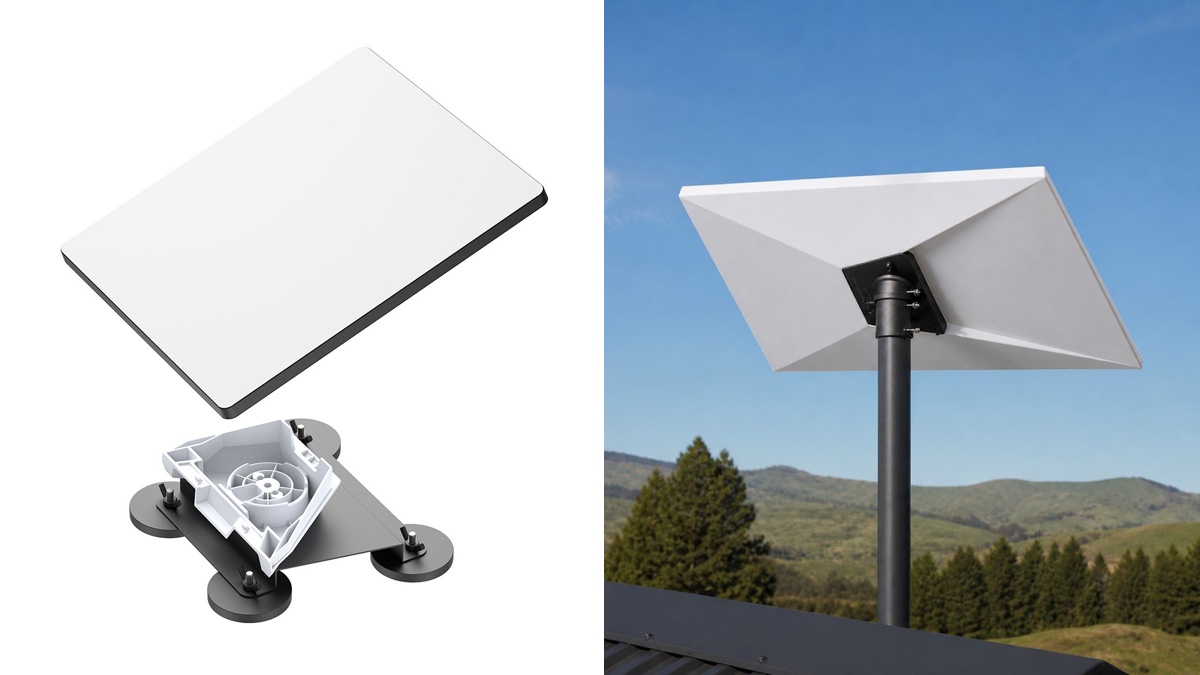
Which Starlink dish do you have, Mini or standard (Gen 3)?
Starlink Mini is smaller, lighter, and far more common for caravan setups because it draws less power and mounts more easily to a roof or ladder. The standard/Gen 3 dish needs a more robust mount due to its size and wind load.
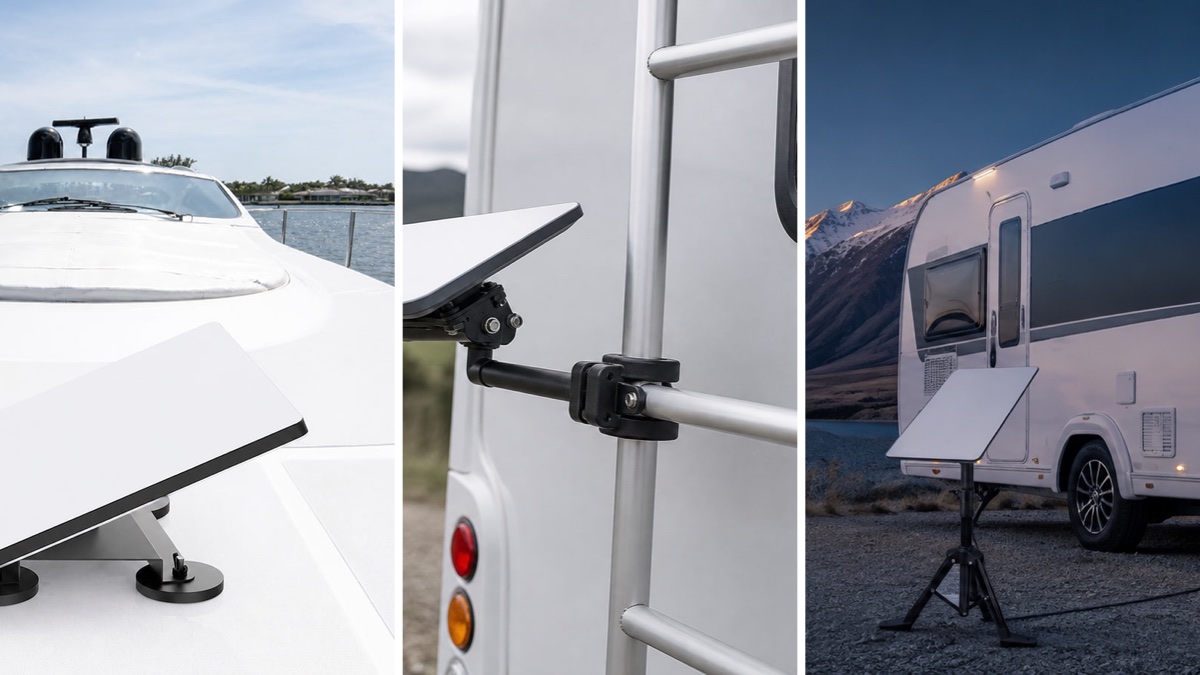
Where will you mount it, roof, ladder, or a temporary pole?
Roof-mounted, permanent flat mount (eg. the compact marine grade bracket): most permanent and weatherproof option, its low profile adds minimal drag, making it the type least affected when driving; best for caravans you tour with regularly.
Roof-mounted, pole or raised mount: lifts the dish above obstructions for a clearer sky view, but adds real height and wind resistance at highway speed, so it's worth taking down before driving.
Ladder mount: no roof penetration needed, easy to remove.
Ground/pole mount: flexible positioning to avoid obstructions at a site, but needs setup/pack-down each stop
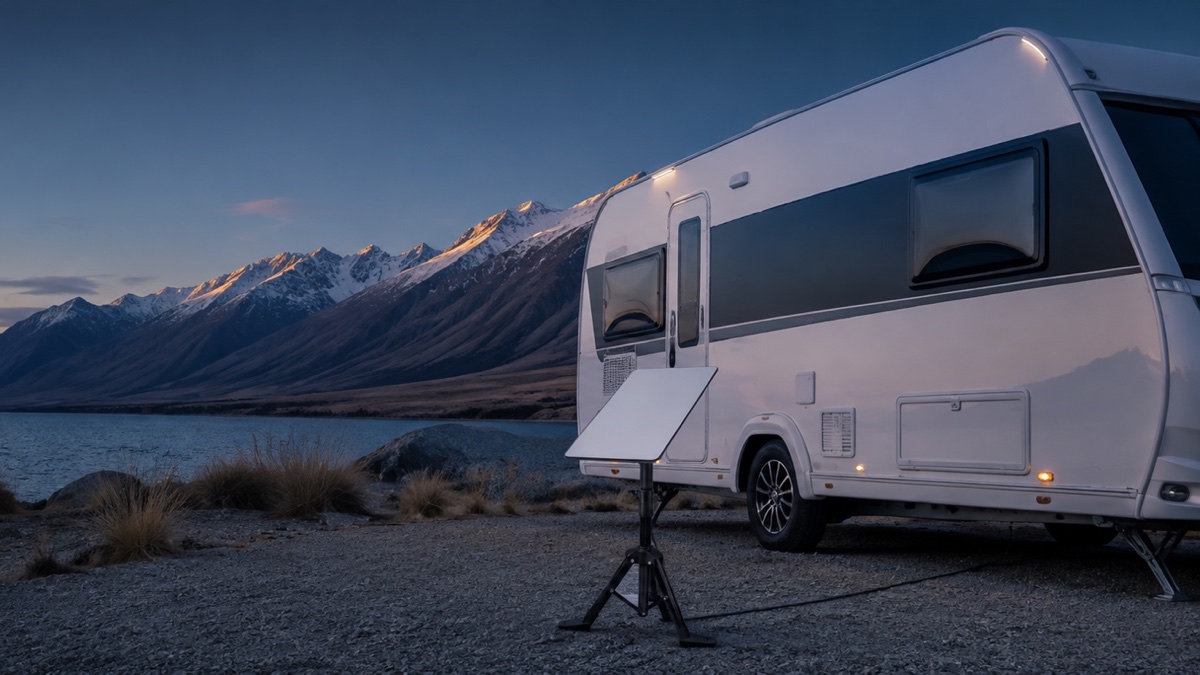
Will you run it while driving, or only when parked?
Starlink can technically maintain a connection while driving with a secure mount and the Roam or Priority plan. A flat, low-profile mount (like the compact marine grade bracket) adds minimal drag and can often stay in place while driving, but a pole or raised mount adds real height and wind resistance at highway speed, affecting towing stability and fuel economy, so it's worth taking down before driving. This affects whether a fixed flat mount suits your setup, or whether a quick-release pole mount makes more sense if you'd rather remove the dish entirely before driving.
Comparison Table
| Option | Best for | Install difficulty | Weather exposure |
|---|---|---|---|
| Mini roof mount | Permanent, low-profile caravan installations | Moderate – requires secure roof fixing and weather sealing | High – fully exposed to wind, rain and UV |
| Mini ladder mount | Removable setups with no roof penetration | Easy–Moderate – clamps to a suitable ladder or rail | Medium–High – exposed, but can usually be mounted lower than the roof |
| Gen 3 mount | Permanent installations requiring the larger Gen 3 dish | Moderate–High – requires a stronger mounting point and secure fixing | High – larger dish area creates greater wind loading |
POWER FOR THE ROAD
Powering Starlink in your caravan
Starlink Mini typically draws 20 to 40W, while the Gen 3 dish typically draws 75 to 100W, depending on conditions. For caravans already running off battery or solar, the Mini is usually manageable and the Gen 3 needs a much larger battery, so it’s worth planning for:
Confirm your caravan’s 12V/240V setup and battery capacity before a big trip
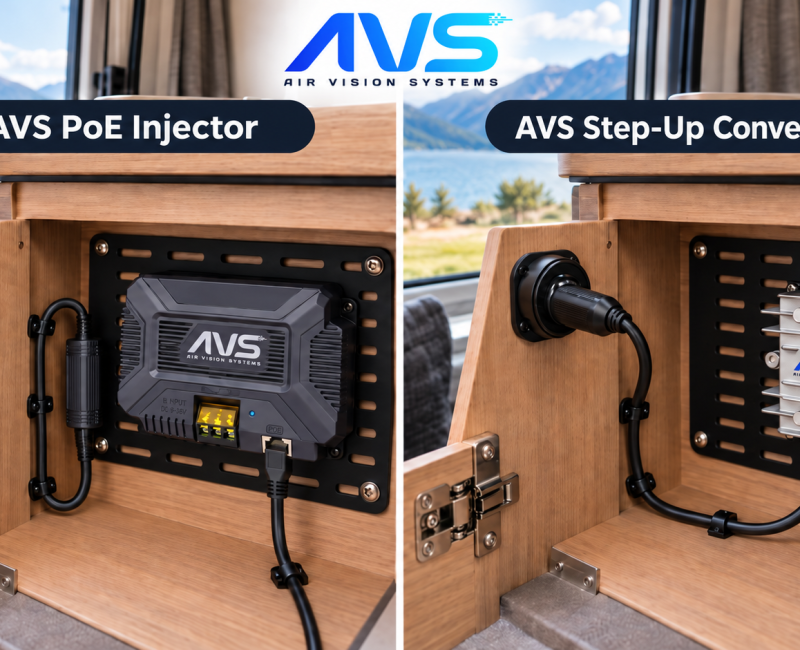
A 12V adapter or dedicated PoE injector avoids running an inverter unnecessarily
If boondocking for multiple days, factor Starlink’s draw into your solar/battery budget alongside fridges and lighting
Before you install
Installation limitations and things to check first
Check your caravan warranty
Check your caravan warranty before drilling for a permanent roof mount, some manufacturers void warranty for roof penetrations
Weight and wind load
A flat mount adds minimal drag, but a pole or raised mount adds real height and wind resistance at highway speed, see the FAQ below for what this means for driving
Cable entry point
Plan how the cable enters the caravan, window gland, existing entry point, or a dedicated gland, before choosing a cable kit, since cable length and routing affect which one you need.
Site restrictions
Some caravan parks restrict dish placement or height, check the site rules before setting up.
Motorhomes & RVs
Starlink for Motorhomes & RVs
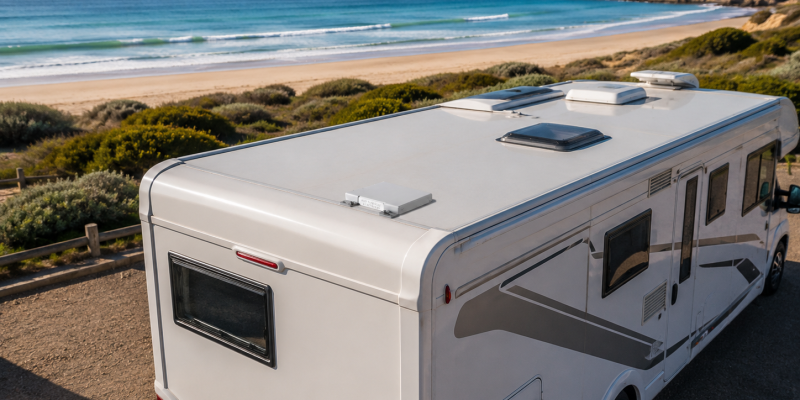
Everything above applies equally to motorhomes and RVs, the main difference is mounting location, since motorhomes often have more roof space and easier access than a caravan.
FAQs
Starlink for Caravans FAQs
Answers to the most common questions about using Starlink in a caravan.
Can I use Starlink while towing my caravan?
Yes, technically. Starlink Mini and the current Gen 3 dish are both flat, motor-free designs that can maintain a connection at highway speeds with a secure mount and the roam or priority plan. Starlink doesn’t permit in-motion use on any Residential plan. Whether it’s worth doing depends on the mount: a flat, low-profile mount (like the compact marine grade bracket) adds minimal drag and can often stay in place while driving, but a pole or raised mount adds real wind resistance at highway speed, affecting fuel economy and towing stability, so it’s worth taking down before a drive. Many caravanners stow the dish regardless of mount type, but it’s less of a necessity with a flat mount than a pole one.
Do I need the Mini or will the standard Starlink kit work for a caravan?
Both work, but Starlink Mini is the more common choice for caravans due to its smaller size, lower power draw, and easier mounting. The standard/Gen 3 dish works too if you already own one, but needs a sturdier mount.
How long does setup take at each site?
With the right mount, most caravanners can have Starlink deployed and connected within 10–15 minutes of arriving.
Will Starlink drain my caravan battery?
A Starlink Mini draws modestly, so it’s not a significant drain with a reasonable battery and solar setup in place. A Gen 3 draws two to three times as much, so check your power budget carefully if you’re already running close to capacity with other appliances.