
Council and Regional Fleet
Starlink Mounting for Council and Regional Fleet
The Problem
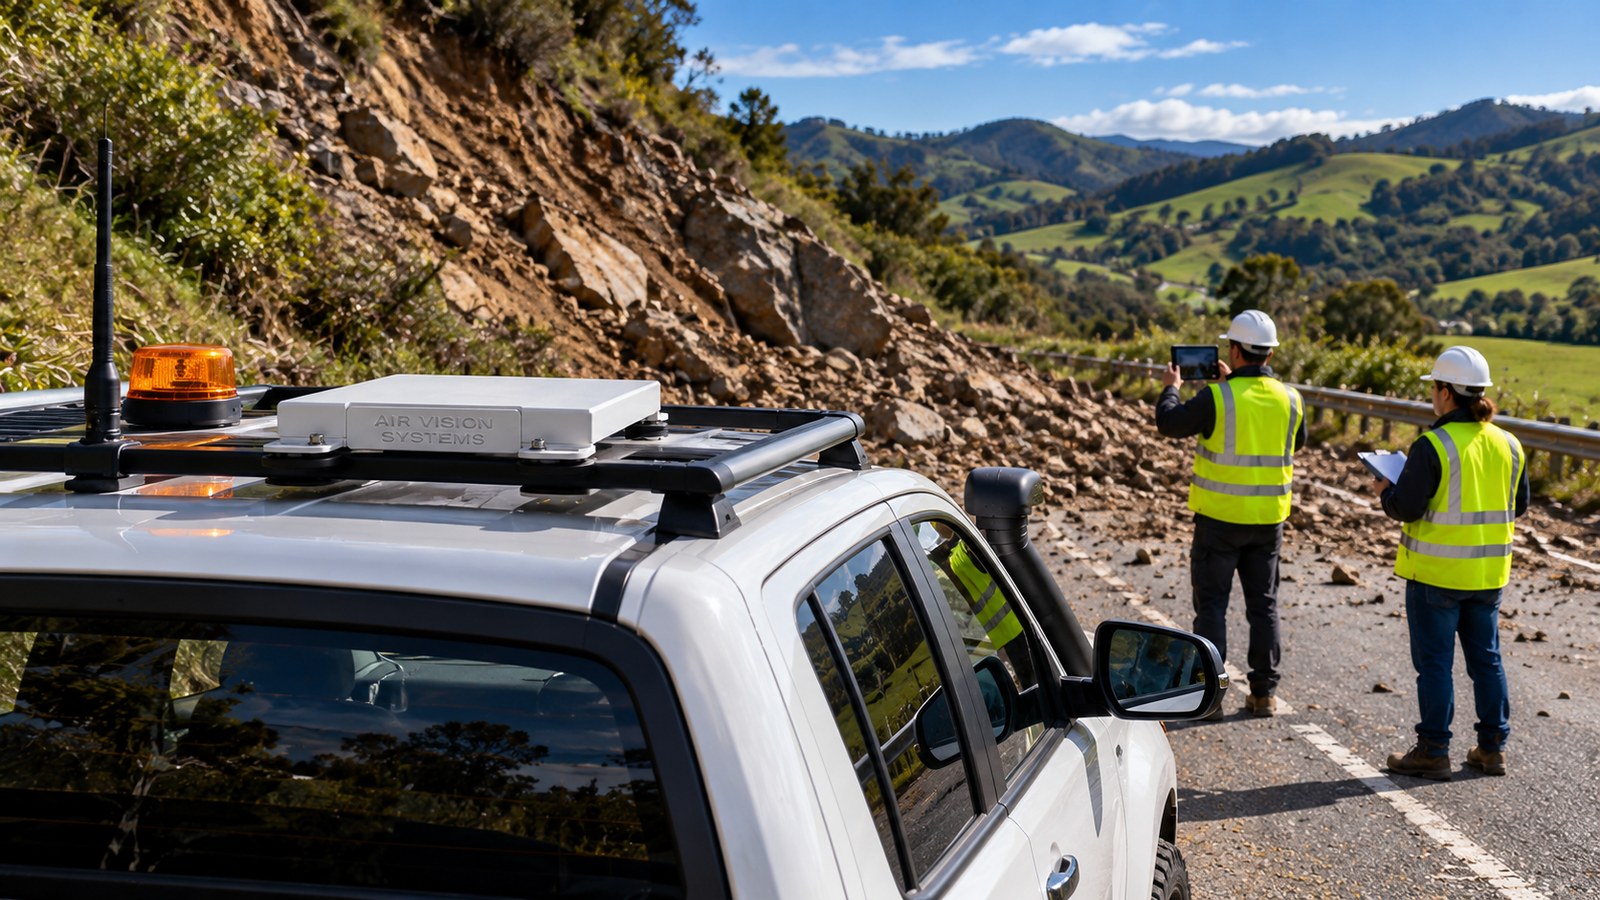
New Zealand has 78 local authorities: 11 regional councils and 67 territorial authorities. Their staff are on the road every day for building inspections, roading, water and wastewater, parks, animal management and river and flood works, and much of that work is in rural areas where mobile coverage is patchy.
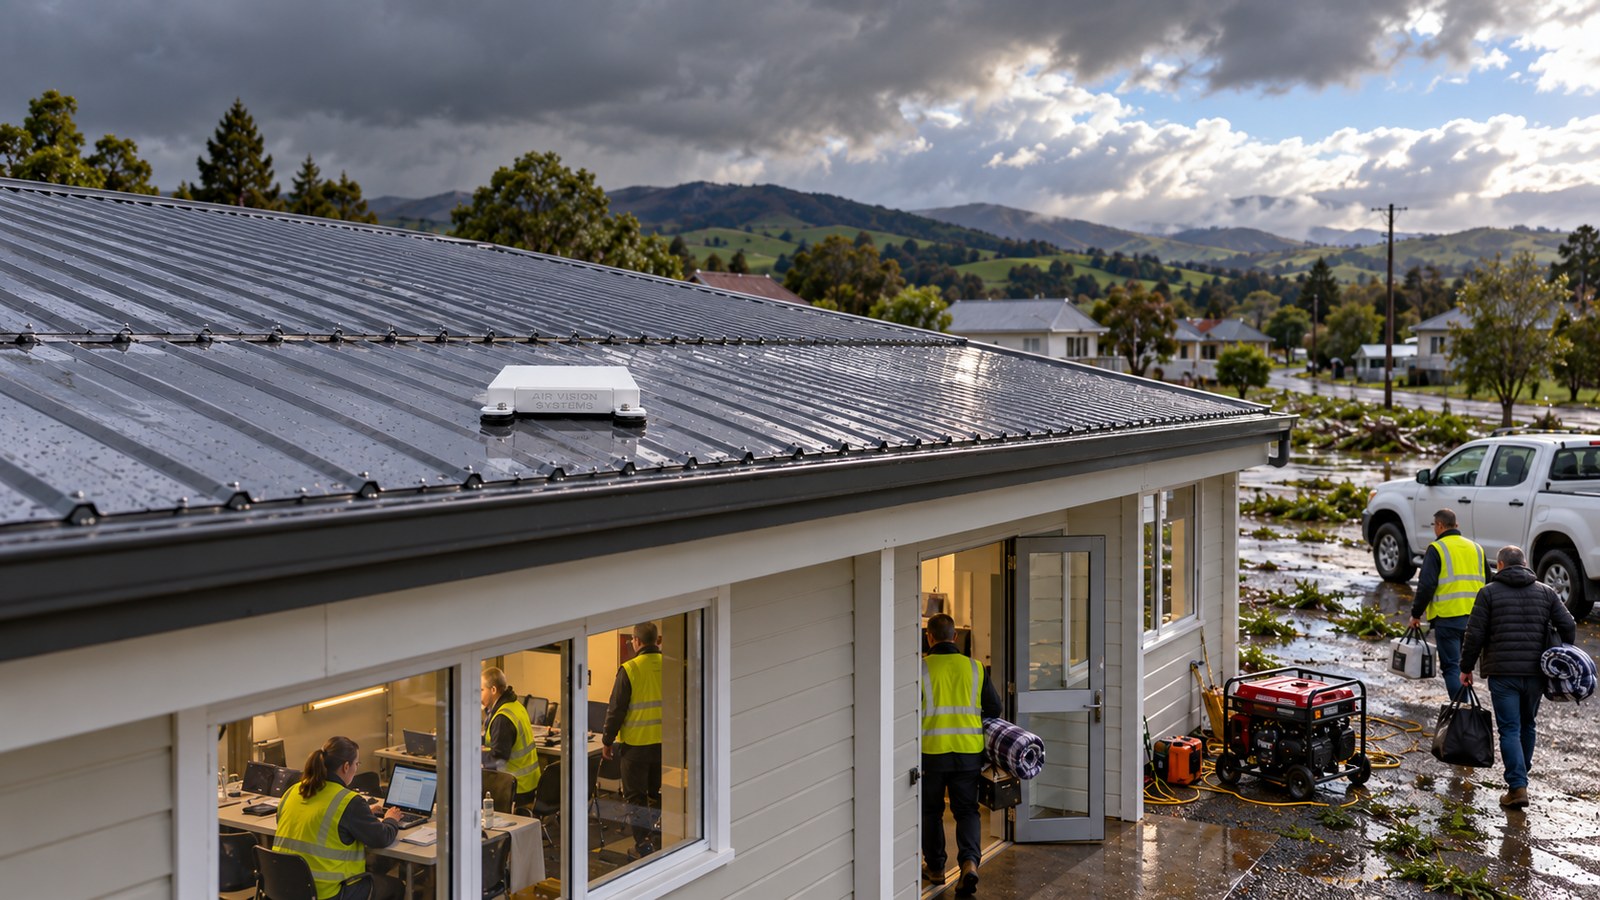
In an emergency, councils lead the local response through New Zealand’s sixteen Civil Defence Emergency Management Groups. That is when the networks are most likely to fail: when the power goes, mobile coverage often goes with it. An emergency operations centre, a welfare centre or a damage assessment team with its own satellite connection can keep reporting, mapping, messaging and coordination running. It adds to your radio network and emergency procedures; it does not replace them.
Council fleets are also mixed. Pool cars and utes change hands from day to day, specialist trucks carry beacons and equipment on the roof, and buildings need a backup that is ready before it is needed.
Recommended Configuration
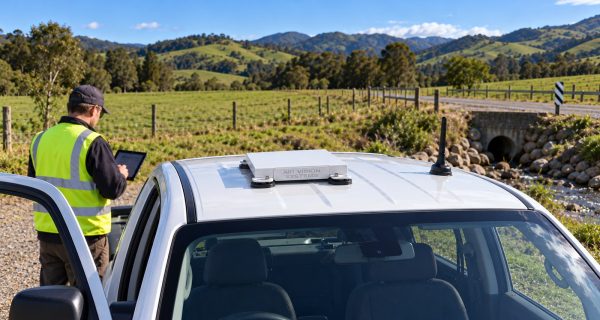
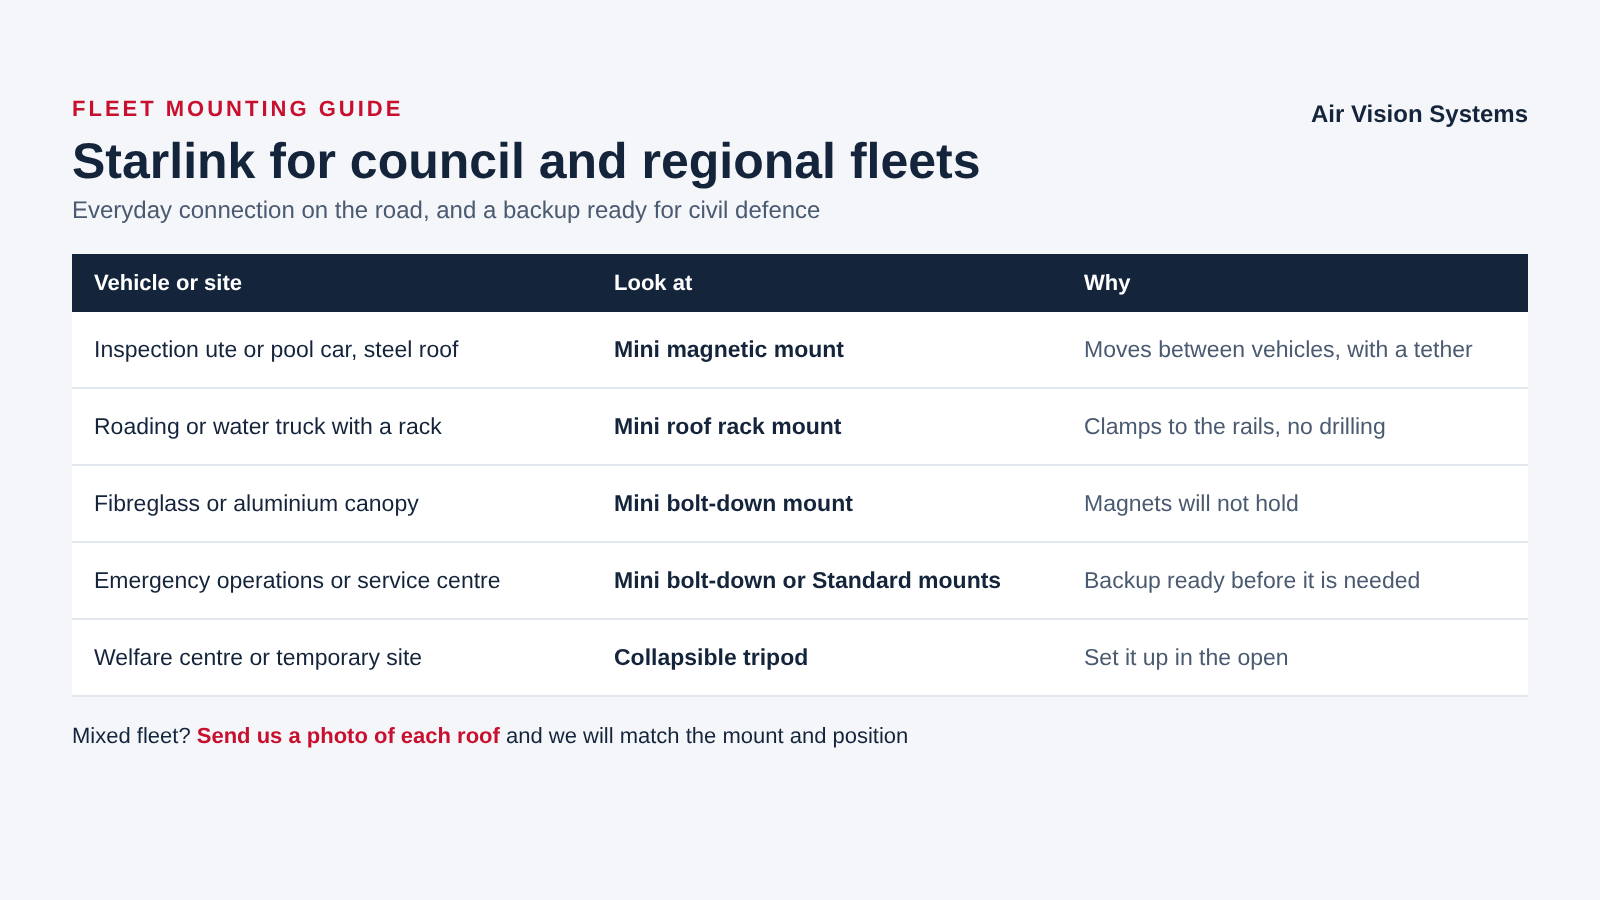
Inspection ute, pool car or van with a steel roof
Use with eight 66 mm magnets or four 88 mm magnets, plus a safety tether. Steel roofs only. Can move between vehicles, so it suits pool fleets.
Roading, water or parks truck with a roof or ladder rack
Clamps to the existing rails, so there is no drilling. Positioned clear of beacons, light bars and aerials.
Vehicle with a fibreglass or aluminium canopy or roof
Bolted to a fixing point your fleet manager or vehicle builder approves. Magnets will not hold on fibreglass or aluminium.
Emergency operations centre, council office or rural service centre
A fixed backup connection that is ready before it is needed.
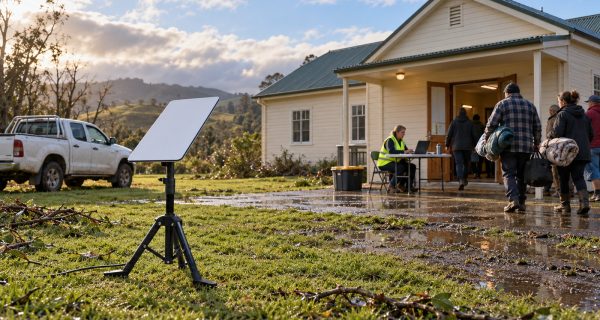
Welfare centre, community hall or temporary work site
Up in minutes on open ground, and packs away when the response moves on.
Power: the Starlink Mini runs from 12 to 48 V DC, so it can run from a 12 V or 24 V vehicle electrical system or a battery. The Standard kit runs from its own 100 to 240 V power supply, so it suits a building on mains or a stable generator. We supply power solutions and extension cables to suit.
Technical Specification
| Item | Figure | Basis |
|---|---|---|
| Starlink Mini dish | IP67 Type 4 (with cables installed), -30 to 50°C, 1.10 kg. Built-in Wi-Fi 5 router, up to 112 m² and 128 devices | Starlink specification sheet |
| Starlink Standard (Gen 3 / V4) dish | IP67 Type 4, -30 to 50°C, 2.9 kg. Power supply 100 to 240 V, IP66. Router: current kits ship with the Router Mini (Wi-Fi 6, up to 204 m² and 235 devices); earlier Gen 3 kits came with the larger Gen 3 router (Wi-Fi 6, up to about 297 m² and 235 devices) | Starlink specification sheet |
| Starlink Mini bolt-down mount | Wind of 252 km/h, the threshold of a Category 5 hurricane, with the mount bolted to timber, steel and concrete bases | Computer simulation (airflow and structural) |
| Roof rack mount, two-rail | Wind of 252 km/h from five directions. Highest stress in the aluminium plate 16.2 MPa against a yield strength of 193 MPa: a safety factor of 11.9, and above 9 with an extra 25% allowance for gusts | Computer simulation (airflow and structural) |
| Materials | Marine-grade 5052 aluminium plates and brackets; stainless steel T-bolts on the roof rack mount: 316 on marine versions, 304 on inland versions | AVS design specification |
Mount figures come from computer simulation under defined test conditions. They support the design and are not a substitute for vehicle-specific, site-specific or regulatory certification. Figures for the magnetic mount, the Standard mounts and the tripod are not listed here; ask us about your vehicles. See our engineering reports.
Installation Notes
01.
Pool vehicles. The magnetic mount can move between steel-roofed vehicles. Fit the safety tether every time it goes on, place it on clean, flat, dry steel, and keep a short card in the kit so any staff member can set it up.
02.
Clearances. Keep the dish and its cable clear of beacons, light bars and aerials. We agree the position with your fleet manager at quote stage.
03.
Cabling. On fixed installs, bring the cable into the vehicle through a proper sealed entry point and secure it clear of doors, hinges and moving parts. Follow the vehicle’s existing wiring routes where you can.
04.
Power. The Starlink Mini runs from 12 to 48 V DC, so it suits both 12 V and 24 V vehicles. Use a fused supply; we confirm the right cable and fuse at quote stage. On electric vehicles, check with your fleet manager how accessories should be powered.
05.
Buildings. Mount the dish where it has open sky and can be reached safely. Plan its power so it keeps running when the mains goes down, from a generator, a battery or a power station.
05.
Test it before you need it. Switch the backup on and check it during your regular civil defence exercises, so you know it works and staff know how to use it.
Compliance Statement
Air Vision Systems is a New Zealand-owned company and an approved supplier to New Zealand Police. Our mounts are designed in-house and assessed by computer simulation under defined test conditions. These assessments support the design; they are not a substitute for vehicle-specific, site-specific or regulatory certification.
Fitting a mount to a council vehicle or building should follow your council’s fleet, property and electrical standards. Your fleet or facilities manager should confirm each installation meets your own rules. Starlink is an extra layer of communication and does not replace your radio network or emergency procedures. Starlink supports the Mini in motion on eligible plans, where permitted (Starlink Help Center).
Get a Fleet Quote
Fast Response From Our NZ Team.
FAQs